 |
||
The Charcoal Chimney, One Of Outdoor Cooking's Best Kept Secrets(Or why are you still using lighter fluid!)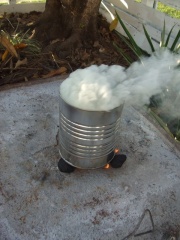 The charcoal chimney is one of our favorite tools, great to use when starting a charcoal grill. Not only do we use ours to get our charcoal started when we are camping, but we also use it whenever we need charcoal at home. If you are like most campers, you will want to eat on your campout, and many times the cooking is done over the charcoal grill or with a Dutch oven. Isnt that part of the fun of camping? At some point in time you will most likely need to get your charcoal started. You can do like many folks do, about 45 minutes before getting ready to start dinner, send the cook over to start the charcoal. Or, you can use a charcoal chimney. It is the best way for you to get your charcoal burning quickly, with the added bonus of not using any lighter fluid. 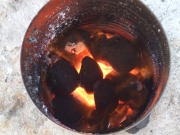 That's right!! You don't need ANY lighter fluid to get your charcoal started, and get it started even faster. Save money and cook your food without that lighter fluid taste or smell what more could you ask for!!! Charcoal Starters And You - It Really Is So Simple!In general, the chimney should be made out of a stainless steel cylinder. Using newspaper on the bottom, the cylindrical shape creates a chimney effect to light the charcoal briquettes, getting them burning both quickly AND evenly. No matter which type of chimney you use, with this method the coals will be ready to use in about 20 minutes. Which Charcoal Starter Is Best For You?The Electric Charcoal Starter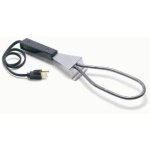 Commercial Charcoal Starters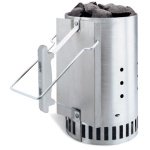 There are many commercial models available these usually run in the $10-15 range and up, with some well over $40 depending on their capacity. The Weber charcoal chimney has a very large following. The Camp Chef charcoal starter is also a popular model. Both of these are very simple and easy to use, and work very well. They also have a little larger capacity than our homemade version. You Can Make Your Own Charcoal Starter Too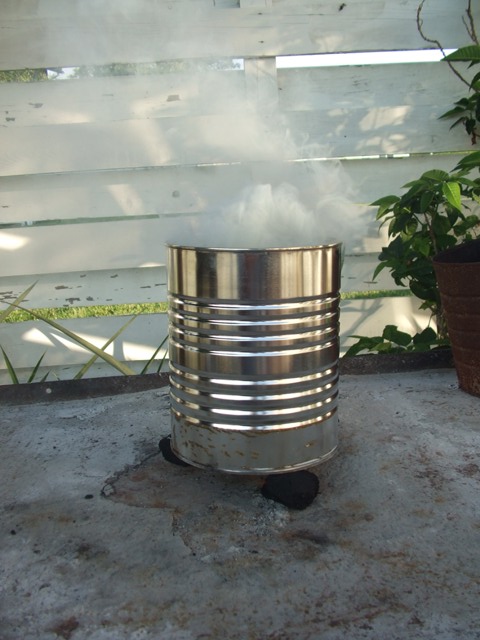 Our homemade chimney has lasted for years with very frequent use. Not bad for an investment that didnt cost us anything (we drink coffee anyway, even though we have to use a different brand to get the can!) the ultimate type of cheap camping equipment. Yes, it is a bit rusted at this point, but when the time comes to get a new one, it is very cheap to replace! Want To Try It Yourself?The links below will take you to pages with step-by-step instructions on how to make a charcoal starter, as well as how to safely use one. Most people who see us using our charcoal starter to start the briquettes wonder why they have never seen this method before. And most people who try this method of starting their charcoal never go back to starting it with lighter fluid again. So what are you waiting for? Your grill is only 20 minutes away from ready!
Do You Want To Make Your Own Charcoal Chimney??? Here's how!!
Here Are Your Detailed Instructions On How To Use Your Chimney Return To Your-Camping-Guidebook.com Home Page From The Charcoal Chimney Page |
Burning Issues
Subscribe To Our Newsletter
"Around The Campfire"
You Will:
|
|
Can't Find It?
|
||
|
Copyright©
2007-2009. Your-Camping-Guidebook.com
|
||


